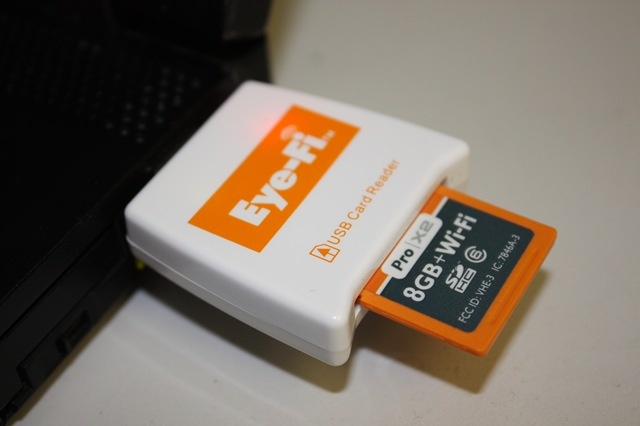
 As part of my preparation for a class I'm presenting at AU, Point Clouds on a Shoestring (AC427-4), I bought myself a new toy a couple of weeks ago: an Eye-Fi Pro X2 memory card.
This very cool little device is much more than a high capacity SD card: it has an in-built Wi-Fi chip that allows it to connect to your local Wi-Fi infrastructure (whether via a wireless router, access points or an ad-hoc connection to your PC) and will automatically upload the images you're taking to a folder on your system and (optionally) to your favourite photo sharing service such as Flickr. I chose the "Pro" version to have the flexibility to connect to an ad-hoc network with my PC, something I may need when presenting in Las Vegas.
As you're no doubt aware, I don't normally do product reviews, but I can see some really interesting potential uses for this technology – especially the thought of adapting it for use with tools such as Photosynth or Photofly – so I can't resist going through how it works. My idea is to give a digital SLR containing this card to a member of the audience to take snaps of an object inside the classroom. While I present, the volunteer will hopefully snap away and the resultant photos would just appear in a folder on my PC, ready for uploading to Photosynth and Photofly (a manual step, for now, but I'm certainly chewing on ways it might be automated :-).
So far the device seems to work well. To get started you place the card in the provided reader and plug it into a USB port on your system, at which point you should have the option to install and then launch the Eye-Fi Center application.


The Eye-Fi Center is – as you'd expect – the tool you use to configure your Eye-Fi card. You start with the main UI, from which you can display and modify the various settings of your Eye-Fi card(s), as well as manage the photos you've taken and transferred.
 The first things you typically want to configure are the network settings. The UI to allow the card to connect to detected access points and ad-hoc networks is pretty straightforward:

You can manipulate the location under which transferred photos are stored on your local machine: As well as the options for uploading them to your file-sharing service:
 I actually found that I needed a file-sharing service configured and enabled – even if I only wanted images transferred locally to my PC – which surprised me somewhat. Perhaps this was a glitch specific to my set-up but it took me a while to recognise it. You'll see later on there are ways to only upload selected images to Flickr, etc., so it's not an especially big deal, all things considered.
I shoot neither RAW nor video with this particular SLR, so I won't bother looking at those settings.
The next option of interest is related to geotagging:
 The card doesn't contain a GPS chip (now wouldn't that be something? 🙂 so it relies on the WPS service provided by Skyhook. Apparently iPhone devices once relied on this service for non-GPS positioning (such as inside buildings), but as I don't have an iPhone this is my first exposure to this service. It's pretty slick – it certainly did a surprisingly accurate job of positioning the images I've taken at home and the office:
 Anyway, the last setting I'll look at is the transfer mode. This is important if you don't want all the photos you take uploaded to an online service (even in "Private" mode):
 I have left the mode set to "automatic", for now, but have used "selective" effectively when I only wanted the images to be placed on my machine.
As well as the Eye-Fi Center application, there's also an Eye-Fi Helper agent which presumably maintains some kind of connection with the Eye-Fi servers and remains ready to bring down images as they become available. When it does so, a toast pop-up notification appears with a thumbnail and progress bar for that download:

All this no doubt raises some security concerns for some people (in fact I've seen such concerns raised on the web), but I personally see more potential benefits from the technology. And I'm now getting used to service providers hosting (and hopefully not looking at) my files, and in any case the images I take are innocuous enough.
On the download frequency: the images tend to download in fits and spurts. Part of this is about being close enough to the wireless router (or PC if using an ad-hoc network), but it's also about configuring the camera not to turn itself off in attempt to save power too readily. I suspect there must also be some server-traffic component to this on the Eye-Fi side of things, as there are certainly times when it feels as though the photos should come more quickly.
The other change I've made – specifically with respect to Photosynth and Photofly – was to adjust the resolution of photos being taken by my SLR down to 3 megapixels. Neither technology makes use of anything above 3 megapixels (and Photosynth's synther apparently uses a maximum of 2 megapixels), so anything greater would mean some conversion is needed prior to upload to these services, as well as resulting in a larger download from the Eye-Fi servers.
I'm going to continue to play with the technology over the coming weeks, but so far I'm pretty impressed (and think it'll add a fun component to the AU demo). If you'd like more detailed information on this Eye-Fi product, see this review on Engadget.
Leave a Reply to Jan Deschepper Cancel reply